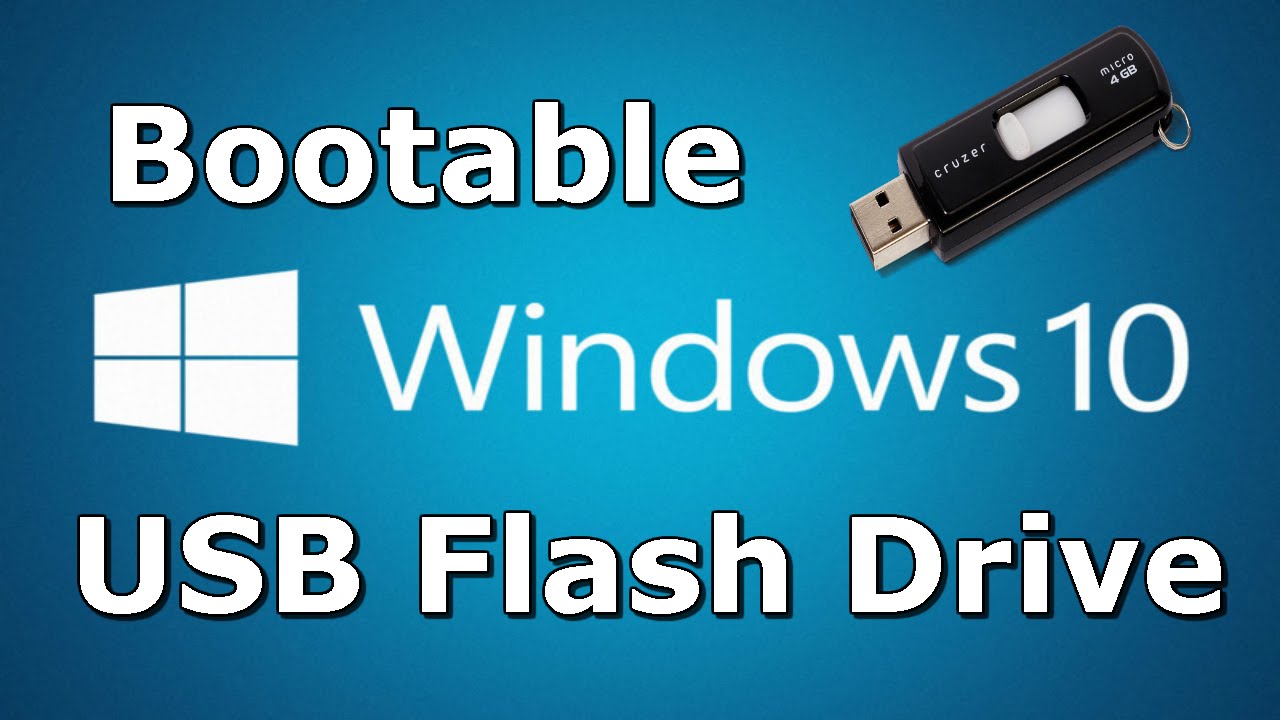
Mastering the Art of Creating a Bootable USB for Windows 10
Creating a bootable USB for Windows 10 is a crucial skill that every computer user should master. Whether you need to install a fresh copy of Windows 10, troubleshoot your system, or recover data from a non-booting computer, having a bootable USB can be a lifesaver. In this article, we will guide you through the process of creating a bootable USB for Windows 10, using different methods, and provide essential tips for success.

Understanding Bootable USBs
A bootable USB is a USB drive that contains the necessary files and software to start up a computer. Unlike regular USB drives used for data storage, a bootable USB is specifically designed to help you install or repair an operating system. It acts as a portable installation medium, allowing you to boot your computer from the USB drive and initiate the installation process.
When it comes to Windows 10, having a bootable USB offers several advantages. Firstly, it allows you to perform a clean installation of Windows 10 without the need for a DVD drive. Additionally, it enables you to quickly recover your system if it becomes unbootable or encounters critical errors. Moreover, a bootable USB provides a convenient way to install Windows 10 on multiple devices, saving time and effort.
Preparing for the Process
Before you dive into creating a bootable USB for Windows 10, there are a few essential steps to take. Firstly, ensure that your computer meets the system requirements for Windows 10 installation. Check the minimum hardware specifications, such as processor speed, RAM, and disk space, to ensure compatibility.
Next, gather the necessary tools and resources. You will need a USB drive with sufficient storage capacity (at least 8GB) and a working Windows 10 ISO file. The ISO file contains all the files required for the installation. You can download the Windows 10 ISO file directly from the Microsoft website or obtain it through other legitimate sources.
Once you have the required tools, familiarize yourself with the different methods available to create a bootable USB for Windows 10. The two most popular methods are using the Windows Media Creation Tool and using Rufus, a third-party software. Additionally, advanced users can also create a bootable USB using PowerShell. Understanding these methods will help you choose the most suitable one for your needs and expertise.
Using the Windows Media Creation Tool
If you prefer a user-friendly and straightforward approach, the Windows Media Creation Tool is an excellent option for creating a bootable USB for Windows 10. Follow these step-by-step instructions:
Download and install the Windows Media Creation Tool from the official Microsoft website.
Launch the tool and accept the license terms.
Select the “Create installation media (USB flash drive, DVD, or ISO file) for another PC” option and click “Next”.
Choose the desired language, edition, and architecture (32-bit or 64-bit) for Windows 10.
Select the “USB flash drive” option and click “Next”.
Connect the USB drive to your computer and select it from the list. Make sure it has enough space for the Windows 10 files.
Click “Next” and wait for the tool to download the necessary files and create the bootable USB.
Once the process is complete, safely eject the USB drive from your computer.
It is important to note that the Windows Media Creation Tool requires a stable internet connection to download the Windows 10 files. Additionally, make sure you have selected the correct language, edition, and architecture to match your requirements.
If you encounter any issues during the process, refer to the troubleshooting section in the official Microsoft documentation or seek assistance from online forums and communities.
Using Rufus
If you prefer more control and flexibility, Rufus is a popular third-party tool for creating bootable USB drives. Follow these steps to create a bootable USB using Rufus:
Download and install Rufus from the official website (available for Windows).
Launch Rufus and insert the USB drive you want to use.
In the Rufus interface, select the USB drive from the “Device” dropdown menu.
Under the “Boot selection” section, click the “Select” button and browse to the location where you have the Windows 10 ISO file.
Ensure that the “Partition scheme” is set to “MBR” (for BIOS or UEFI-CSM) or “GPT” (for UEFI only).
Choose the “File system” as “NTFS” and leave the “Cluster size” as default.
Enter a name for the USB drive in the “Volume label” field.
Check the “Quick format” and “Create a bootable disk using” options.
From the dropdown menu next to it, select “ISO image” and click the small disk icon to browse and select the Windows 10 ISO file.
Finally, click the “Start” button to begin the process. Rufus will format the USB drive and copy the Windows 10 files onto it.
Rufus offers more customization options, such as the ability to create a bootable USB for different operating systems and file systems. However, be cautious when using Rufus, as improper settings or selecting the wrong options can lead to data loss or other issues. Always double-check your selections before proceeding.
Using PowerShell
For advanced users who prefer a command-line approach, PowerShell provides a powerful method to create a bootable USB for Windows 10. Follow these steps:
Open PowerShell as an administrator. You can do this by right-clicking on the Start button and selecting “Windows PowerShell (Admin)”.
Connect the USB drive to your computer.
Type the following command: diskpart and press Enter. This will open the DiskPart utility.
Type list disk and press Enter. This will display a list of available disks on your computer.
Identify the disk number associated with your USB drive. Be careful to choose the correct disk, as selecting the wrong one can result in data loss.
Type select disk X (replace X with the disk number of your USB drive) and press Enter.
Type clean and press Enter. This will remove all existing partitions and data on the USB drive.
Type <codecreate partition primary and press Enter. This will create a new primary partition on the USB drive.
Type format fs=ntfs quick and press Enter. This will format the partition with the NTFS file system.
Type active and press Enter. This will mark the partition as active.
Type assign and press Enter. This will assign a drive letter to the USB drive.
Type exit and press Enter to exit the DiskPart utility.
Type cd followed by the path to the Windows 10 ISO file and press Enter.
Type xcopy * X: /s /e (replace X with the drive letter assigned to your USB drive) and press Enter. This will copy all the files from the ISO to the USB drive.
Using PowerShell to create a bootable USB requires a good understanding of command-line operations. Make sure to double-check your commands and follow the steps accurately to avoid any errors. If you encounter any issues, refer to the official Microsoft documentation or seek assistance from PowerShell forums and communities.
Comparison and Choosing the Right Method
Each method discussed has its advantages and limitations. The Windows Media Creation Tool is the most user-friendly option, suitable for beginners or those who prefer a guided process. Rufus offers more customization options and is ideal for users who want more control over the bootable USB creation process. PowerShell is the most advanced method, suited for experienced users comfortable with command-line operations.
When choosing the right method, consider factors such as your level of expertise, system requirements, and the specific purpose of the bootable USB. If you are new to creating bootable USBs or prefer a simple process, the Windows Media Creation Tool is recommended. For more control and customization, Rufus is a great choice. Advanced users who are comfortable with PowerShell can opt for the command-line approach.
Ultimately, the goal is to have a bootable USB that meets your needs and allows you to successfully install or troubleshoot Windows 10.
Best Practices and Additional Tips
Creating a bootable USB for Windows 10 requires attention to detail and following best practices to ensure a successful outcome. Here are some additional tips to consider:
Always back up your important data before creating a bootable USB. The process involves formatting the USB drive, which will erase all existing data.
Verify the integrity of the Windows 10 ISO file before using it to create a bootable USB. Check the file’s hash value against the official Microsoft website to ensure it hasn’t been tampered with.
Regularly update your Windows 10 ISO file to the latest version to ensure you have the most up-to-date installation files.
Test the bootable USB on a spare computer or in a virtual machine before using it on your main system. This will help you identify any potential issues or errors.
Keep your bootable USB in a safe place and label it properly for easy identification. Store it in a protective case to prevent physical damage.
If you encounter any errors or issues during the bootable USB creation process, consult official documentation, or online forums, or seek assistance from experienced users.
Regularly check for updates to the tools and software you use to create bootable USBs. New versions may include bug fixes, improvements, or additional features.
By following these best practices and tips, you can ensure a smooth and successful experience when creating a bootable USB for Windows 10.
FAQ’s:
Q: What is a bootable USB drive for Windows 10?
A: A bootable USB drive contains the necessary files to start or install Windows 10 on a computer.
Q: Why would I need a bootable USB drive for Windows 10?
A: It’s handy for installing Windows on a new computer or troubleshooting when your system won’t boot.
Q: What do I need to create a bootable USB for Windows 10?
A: You’ll need a USB flash drive (at least 8GB) and a Windows 10 ISO file.
Q: How do I create a bootable USB drive for Windows 10?
A: Use tools like Rufus or the Windows Media Creation Tool to create one. See our guide for detailed steps.
Q: Can I use a Mac to create a bootable Windows 10 USB drive?
A: Yes, you can use tools like Boot Camp Assistant or third-party software to create one on a Mac.
Q: What should be the file system format for the USB drive?
A: Format it as FAT32 for compatibility with most computers.
Q: Do I need a product key to create a bootable USB drive?
A: No, a product key is only required during the Windows 10 installation process.
Q: Can I use a USB drive that already has data on it?
A: Yes, but make sure to back up your data as the process will erase the drive.
Q: How do I boot my computer from the Windows 10 USB drive?
A: Access your BIOS/UEFI settings and set the USB drive as the boot device, then follow the on-screen instructions.
Q: What if I encounter errors while creating or using the bootable USB?
A: Troubleshoot common issues like errors during creation or boot failures with our troubleshooting tips.
Creating a bootable USB for Windows 10 is a valuable skill that can come in handy in various situations. Whether you need to install Windows 10, troubleshoot your system, or recover data, having a bootable USB provides a convenient and efficient solution.
In this article, we explored three different methods for creating a bootable USB for Windows 10: using the Windows Media Creation Tool, Rufus, and PowerShell. Each method offers its advantages and is suitable for different user preferences and expertise levels.
By understanding the process and following best practices, you can confidently create a bootable USB for Windows 10 and tackle any installation or troubleshooting tasks that come your way. Remember to keep your bootable USB updated and regularly test it to ensure its functionality.
Now that you have mastered the art of creating a bootable USB for Windows 10, you are well-equipped to handle various scenarios and make the most of your Windows 10 experience.


