How to Cut Your Own Long Hair at Home
It’s been a little while since I did my last How to Cut Your Hair Tutorial so when I started thinking about going for a shorter, spring-time cut I knew I had to share the process with you here. My hair had gotten really scraggly and thin (postpartum hair loss is not cool, btw) since I had the baby and it was definitely not a cute look.
I have seen so many beautiful, long, choppy bobs on Pinterest lately so those were my inspiration. I also knew I wanted to keep my hair long enough to pull back into a ponytail because let’s be honest, having a little baby around means high-maintenance hair is just not gonna work!
So if you’re wondering “How can I cut my own shoulder-length hair at home?”, “What happens if you cut your hair in a ponytail?”, “What’s the best way to cut your hair by yourself?”, “How do you cut your hair shoulder length?”, and “What is the easiest way to cut curly hair?” This is the post for you!
This hairstyle has ended up being the perfect mix of my needs: easy to cut, the choppy look I was going for while also allowing me to keep my side swept bangs. This long bob hairstyle hair cut was simple to accomplish, the hairstyle looks polished by throwing in a and my hair can still be pulled back into a ponytail so the baby can’t pull it like he likes to do.

Let’s get started!
A few things to keep in mind:
- Stay calm! 🙂 – Cutting your hair, especially for the first time can feel kind of intimidating. It’s really only scary the first time you do it. Just remember, if you totally jack up your hair you can always go get it cut/fixed by a pro but at least you have a shot at saving considerable money if you try cutting it yourself first.
- Just like anything, practice, practice, practice! – If you’re not happy with the results the 1st time you can always snip more to craft the ‘do you DO want. Opt for a longer version of the cut you want so you can have some wiggle room for adjustments.
- Think ahead. – If you have a big event coming up maybe cutting your hair yourself for the first time *might* not be the best idea. My mom always says, “Bring a tried and true dish to parties, not something you’ve never made before.” Basically, you don’t want to try out a new recipe or in this case, a new haircut, if you’re not sure it’s going to work.
- Perfectionists need not apply. I can tell you from experience, cutting your own hair can be an adventure. 😉 Sometimes the hair is a wee bit longer on one side than the other, and sometimes things don’t go as planned. “Mistakes” and/or “imperfections” are the name of the cutting your own hair game, especially in the beginning.
Supplies:
- Hair cut inspiration – Having a plan is vital, that way you won’t be making things up as you go.
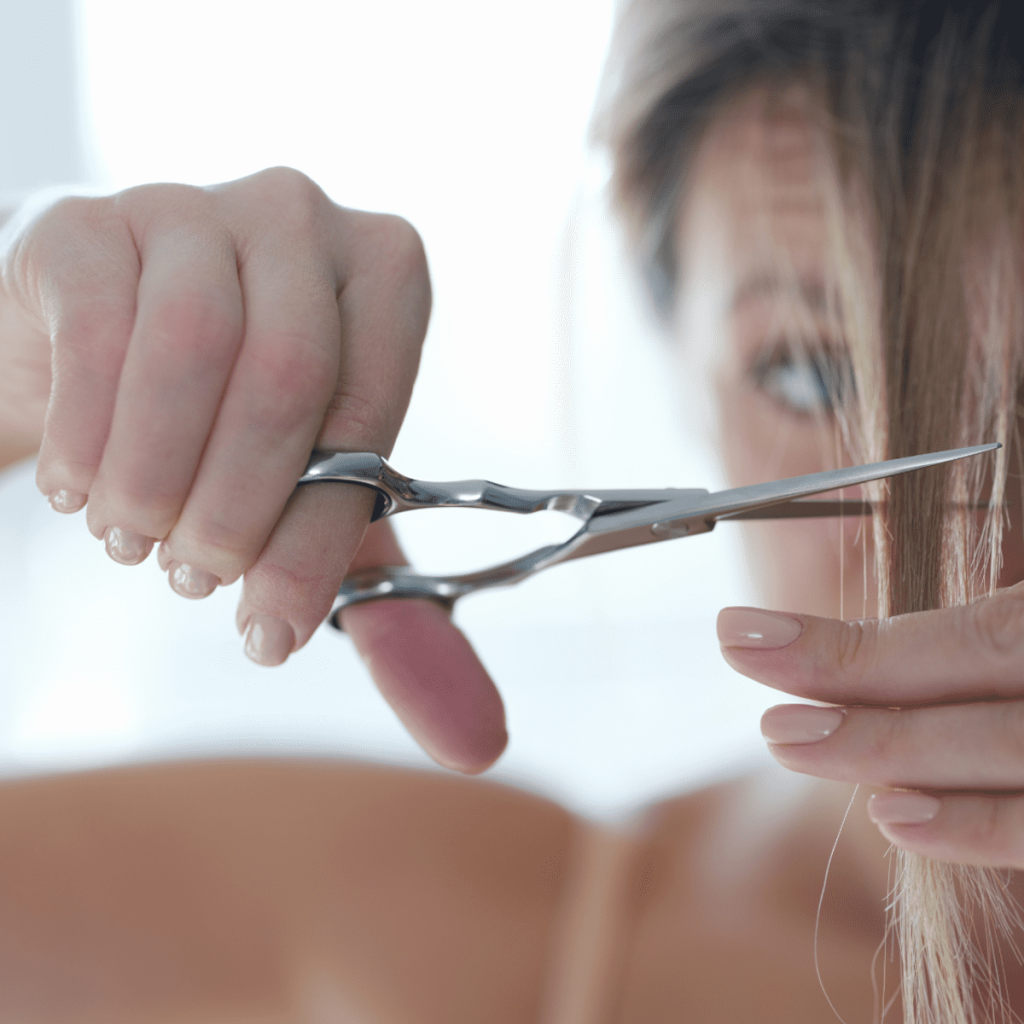
- Hair Cutting Scissors – One of the best things you can do for your DIY haircut is to get a pair of scissors that are meant for haircutting (AKA hair-cutting shears). In the last haircutting tutorial I used craft scissors and since then I’ve gotten legit, sharp scissors that are made specifically for hair, and they have made the biggest difference! (Avoid using kitchen scissors!)
- Mirror – To check the back of your hair.
- Fine Tooth Comb – I love using the pointy end of this comb to make clean parts. Something about a sharp part really takes a hairstyle to the next level.
- Hair ties or clips for sectioning off the hair.
1. I like to cut my hair dry so I can see the progress I’ve made. If you want to cut your hair wet or if you want to have damp hair then take into account that when it dries it will shorten up.
2. Decide how long you would like your hair to be.
3. Divide your hair into 2 sections. Pull the sections over your shoulders, and put hair ties right above the length you want your hair to be. If you have shorter hair than I started out with then just do a modified version with hair clips instead of the using the pigtail method that I did.
4. Take a deep breath, put the hair between your middle fingers and start cutting! Since I wanted a choppy long bob (AKA a lob) I cut straight across for this initial cut. If you don’t want blunt ends like I did then cut into the hair at 11:00 or 2:00 angles, depending on what direction you’re coming at the hair from.
5. Do the other side.
6. Next, pull the hair into a low ponytail and clip off the point. By clipping off the point you’re eliminating the V shape. If you want the V shape in the back then skip this step.
7. Refine your cut by trimming the ends, and cut any pieces that are strangely long. While I started with a straight across blunt cut I did the refining cuts at the 11:00 or 2:00 angle so I have a mix of softer angles and blunt edges. If you cut at the angle rather than straight across the hair will look better as it grows out.
8. Now it’s time to do the front of your hair. Use your comb to smooth and straighten the front section of hair that will frame your face. Use your fingers to create a straight line and then clip the hair under your fingers again with the 11:00/2:00 angle.
9. Fluff, then take a look at the back of your head and straighten up/clean up any areas that need a bit of tweaking. If after you take a shower you notice your hair needs a little more modifying then trim it up. I ended up doing that with my cut until I got it just right. I just clipped a little bit at a time and kept checking it out to see how it was looking as I went.
10. You did it! Congrats!


